
You may find it easier to edit an image using your favorite image editor (such as Adobe Photoshop, or other photo editing software) before you upload the image into the Media Library.
But you do have some options for editing an image after you upload the photo to the Media Library.
Create a new image variant
- Open the Media Library.
- Remember, you can access the Media Library in two ways:
- Through the Dashboard menu, under "Content"
- Or, through the text editor, using the "Insert from Media" button
- Remember, you can access the Media Library in two ways:
- Navigate through the folder structure and locate the image you wish to edit.
- When you locate the image you wish to edit, click the name of the image to open it, or click Actions > Edit.
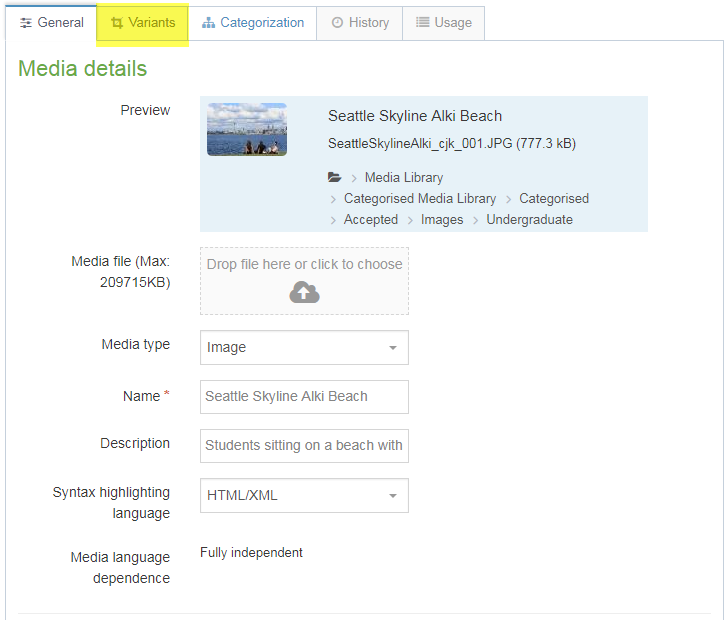
When the image first opens, you'll be in the "Media details" screen (or the "General" tab) where you can edit the name or 'alt' description for accessibility.
- In order to edit the image, first, click over to the "Variants" tab.
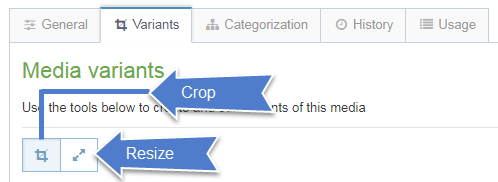
- Near the top left of the screen, there are two small buttons: Crop and Resize. Select either the Crop tool or Resize tool.
Crop
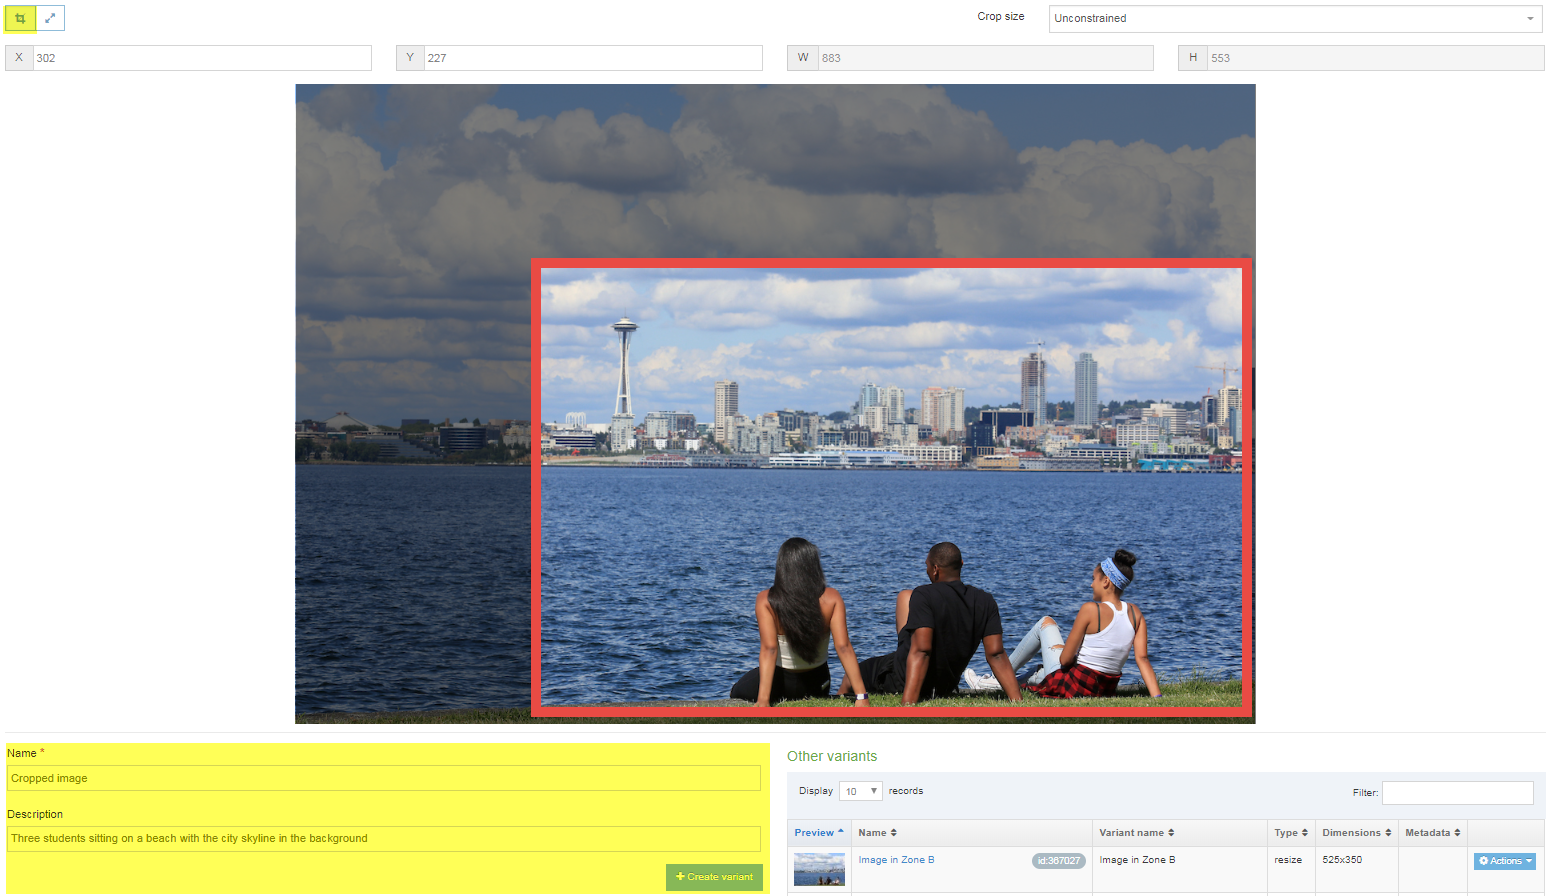
Once you have selected the first icon, the Crop tool, you can click onto the photo and drag until you have selected the portion of the image that you wish to keep (see the example in the image below, the portion of the image that I want to keep, I have highlighted in red). The portion of the image that will be cropped out will appear shaded in a dark grey color.
- Alternately, you can enter numbers (in pixels) into the fields for the X axis, Y axis, W (for width) and H (for height).
 After selecting the portion of the image you want to keep, you will create a new image variant.
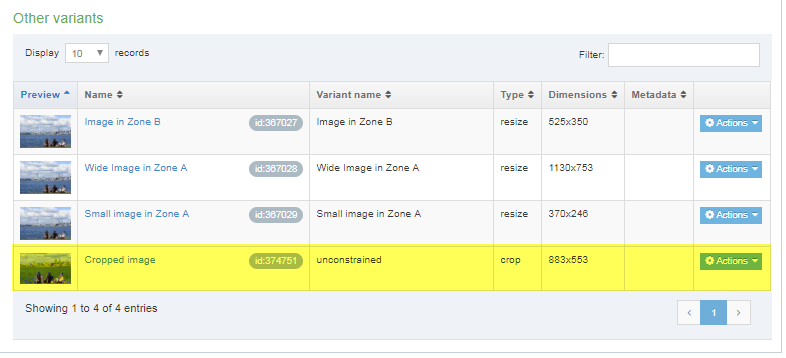
- Scroll down below the photo, then give your new image variant a name (in the example above, I've named it "cropped image") and an alt description for accessibility.
- Then click the green button below the description field labeled "+ Create variant"
- When your new variant has been successfully created, you will see it listed at the bottom of the list of image variants.
Then when you insert your image into a content item, you can select and insert the new variant that you just created.
Resize
Anytime you add a new image to the TerminalFour Media Library, if the image is large enough to do so, then T4 will automatically create for you three smaller size variants: one that will be full width in Zone B, one that will be full width in Zone A, and one that will be a smaller image in Zone A.
But if you wish to have a slightly different size of the image, such as if you need a smaller size to better fit a specific content type, then you can resize an image directly in the Media Library and create a new size variant to use.
When you select the second icon, the Resize tool, right underneath the 'Resize' icon will be a checkbox to 'Maintain aspect ratio.' The aspect ratio of an image is the proportion of the width relative to the height. For example, if an image is a square, then the width and height are equal and the aspect ratio is 1:1. You will want to make sure this box stays checked, otherwise, you may distort the image when you resize it.
When the 'maintain aspect ratio' box is checked, you can type in a specific number (in pixels) in either the W (width) field or the H (height) field, and then TerminalFour will fill in the other dimension for you.
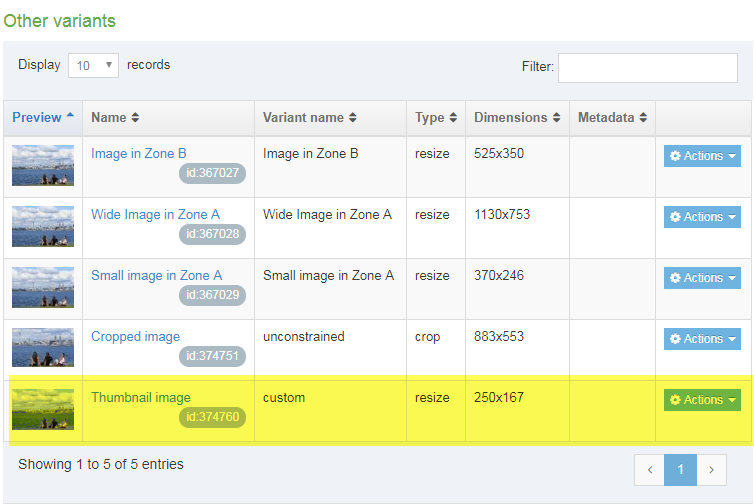
In the example below, I wanted the width of the image to be 250 pixels, so I typed in "250" into the width field, and since I wanted the image to maintain it's aspect ratio, then TerminalFour will do the calculations for you and automatically filled in the height in pixels for me.
Once you've specified the height and width you want then:
- Scroll down below the photo, then give your new image variant a name (in the example above, I've named it "thumbnail image") and an alt description for accessibility.
- Then click the green button below the description field labeled "+ Create variant."
- When your new variant has been successfully created, you will see it listed at the bottom of the list of image variants.

Then when you insert your image into a content item, you can select and insert the new variant that you just created.