
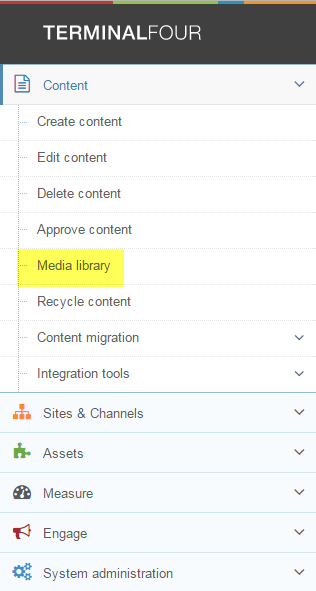
- Navigate to the Media Library by going to the Dashboard (the menu on the top left hand side of your screen), clicking 'Content,' and then clicking 'Media Library.'
- Click the plus next to the Categorised folder to display all the subfolders.
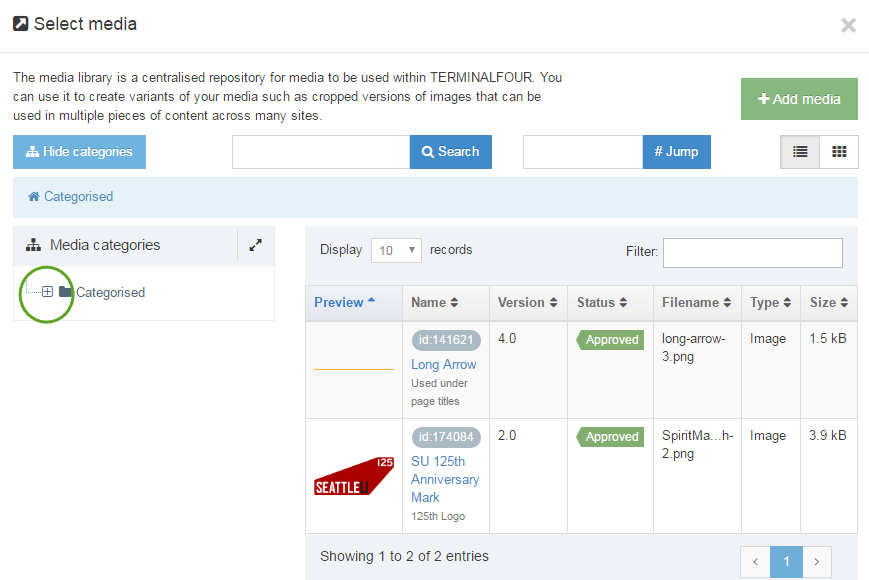
- When the list of subfolders opens, scroll through the alphabetized list to find the folder you want to add your file to, and then click on the name of the folder.
- You can use the scroll wheel on your mouse for faster scrolling.
- Or type CTRL + F to open the Find tool in your browser, then type in the name of your folder, to find your folder name without scrolling.
- Then scroll back to the top of the page, and click the green + Add Media button.
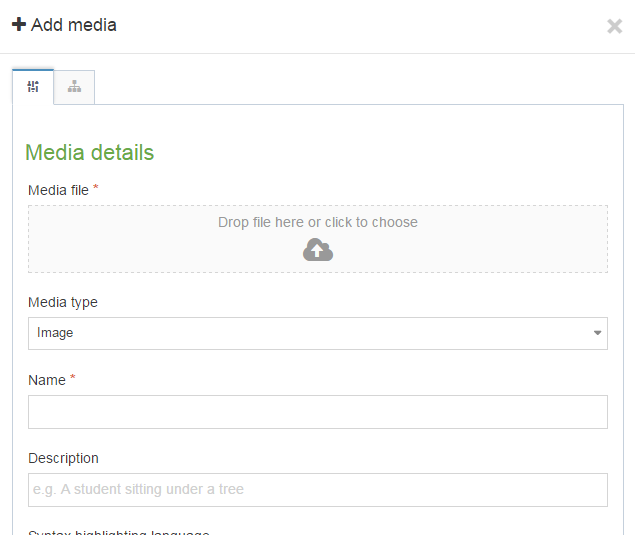
- Click in the box to find and select a file from your computer.
- When you add your file, the 'media type' will automatically change to match the file type you just uploaded.
- Add a name for your file and a description for your file.
- Make sure the name and description are laden with keywords that will help you find the file again; as when you use the 'Filter' tool in the Media Library to search for a particular file, the filter tool is primarily using those two fields to return search results.
- All images must have a description for accessibility reasons
- If users are using a screen reader to navigate your website, the description for your image file here in the Media Library becomes the image's alt description in the website's code, and it is read to users by the screen reader.
- The description should concisely convey the meaning of the image to your users.
- If your image contains any text, you need to include the text in the description or elsewhere on the page so that users using assistive technology are not excluded from this content.
- The other fields can be left blank.
- When you're finished adding all the media details, click Save Changes.
Now the image or file is ready and available to be inserted into your page content.